In part one, I wrote about mocking ES6 module dependencies using the ES6 native import * from construct. It works mostly fine. However, you need to be aware of a potential issue:
- You need to import modules to mock them, which means that those modules will be evaluated. That may be a problem if you don’t want the code in this modules to be executed.
Another method I found to work well is using proxyquire. It is one of many libraries aiming to streamline mocking dependencies to simplify unit testing.
Read more →
Not so long ago I faced a problem: I needed to mock ES6 module’s dependencies for unit testing. The reason for mocking dependencies in unit tests is the following: when I write a unit test, I want to test the functionality of a single unit of code, hence a unit test. However, if a module has any dependencies, those dependencies need be satisfied. That may mean importing and executing code in other modules. As a result, the unit test loses its purity – the test results will depend not only on the module I’m focusing on but also on the other code my module depends on.
Read more →
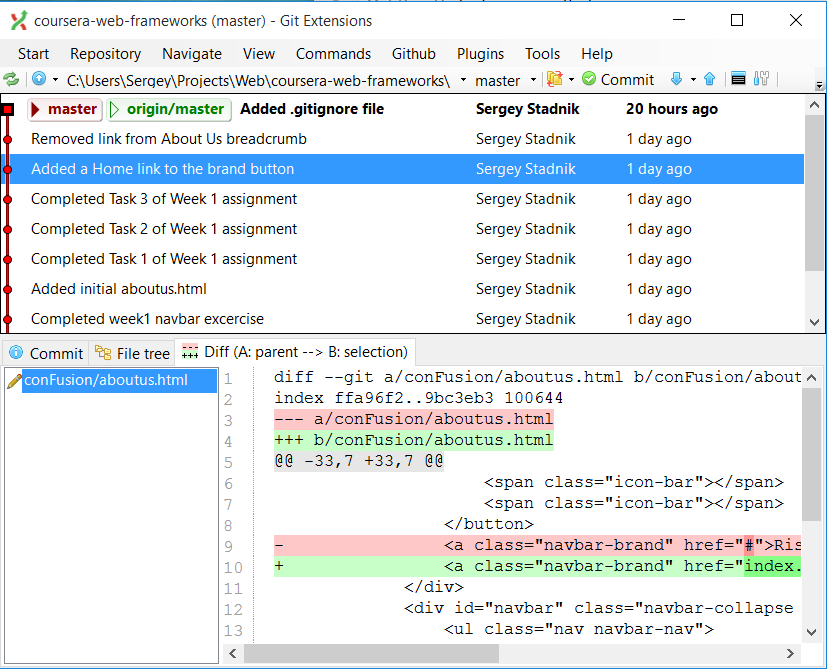
I finally found a way to set up Git on Windows in a way that it isn’t painful to use. Here’s how to do that:
- Uninstall all installations of git, TortoiseGit, etc.
- Install Git Extensions. The easiest way to do that is via Chocolatey package manager:
- Install Chocolatey
- Install Git Extension package package.
- Install Git Credentials Manager for Windows
That’s it.
Git Extensions come with a handy fully-functional UI.
And Git Credentials Manager securely stores your git passwords so that you don’t need to re-enter them every single time.
I really like my OnePlus One phone. It is an exemplary engineering achievement proving that it is possible to design a mobile phone as powerful as leading brand’s flagship models but costing half of their price.
Oneplus One is powered by Cyanogen OS, an open source OS based on Android Open Source Project (AOSP). Cyanogen OS has its own update cycles, which OnePlus One receives via over-the-air (OTA) updates. When I bought the phone, it had Cyanogen OS 11 installed, based on Android™ 4.4 KitKat. Pretty much when I turned on, it received update to Cyanogen OS 12, based on Android™ 5. The update went without a hitch, and the phone performed flawlessly for a few months… until the next update came through.
12.1-YOG4PAS1N0 is Cyanogen OS 12.1 based on Android™ 5.1.1.
Unfortunately, once that update installed on my OnePlus One, it rendered the phone practically unusable. The problems included LTE connection dropping out, random freezes and reboots, application crashing, you name it… And after a couple weeks I had enough and decided to do something about that. So, I said goodbye to Cyanogen OS and hello to CyanogenMod Nightly Builds.
Although they are closely related, Cyanogen OS and CyanogenMod are not the same. The technical difference, though, is very minor. However, because CyanogenMod is not endorsed by OnePlus, it does not receive OnePlus updates, it does not contain applications bundled with Cyanogen OS (which are mostly crapware anyway, with an exception of excellent CameraNext).
Oh, and installing CyanogenMod may void your warranty. You’ve been warned.
Instead, CyanogenMod has a useful feature of incremental updates. More on that later.
Although CyanogenMod makes kind-of stable “snaphot” builds from time to time, they are rare and can be quite outdated. And I had experience with my previous phones when snapshot releases stopped being updated altogether. Because of that I opted for nightly builds. They are exactly what they sound like - automatic nightly builds of CyanogenMod, including all the code changes made during that day. Although they are untested and technically “unstable”, in practice, as I discovered, they are more stable than official releases of Cyanogen OS.
The first thing you need to do to install CyanogenMod on a stock OnePlus One is to unlock the bootloader and root the phone.
There is an excellent DaxNagtegaal’s guide on how to do exactly that.
The most “painful” part of it is unlocking the bootloader, because doing that effectively factory resets the phone, wiping all the data including the flash partition. If you want to avoid a pain of reinstalling and reconfiguring all your application from scratch, you’ll probably want to back them up with Helium. This backup method isn’t perfect, it doesn’t always work, and you may not be able to restore some of your applications, but unfortunately that’s the only one that works on stock unrooted devices. Once you root the phone, you’ll have much more powerful Titanium Backup Pro at your disposal. But not now.
You can also use TotalCommander with ADB plugin to copy files from your phone. To my liking that is a bit more convenient than via Windows Explorer.
Once the bootloader is unlocked, follow the steps to flash TWRP recovery. After that follow the guide to flash CyanogenMod nightly build. Skip flashing a kernel and go on to rooting the phone. Once rooting is completed, you’re done!
A couple of finishing touches:
- Grab CameraNext apk or CameraNext mod and install it. This camera works much better on OnePlus One than the stock CyanogenMod’s one.
- Install CM Downloader and you’ll have an option of incremental OS updates. Do not forget to backup your system with TWRP before updating!
- And do not forget to backup your applications with Titanium Backup!
Reference:
Identifying sessions consuming CPU time is a common task in Oracle performance tuning. However, as simple as it sounds, it is not that straightforward. Oracle recommends using Enterprise Manager or Automatic Workload Repository for that. The problem is that in real-life situations Enterprise Manager is often not installed, or you may not have access to it. You may not also have necessary privileges to run AWS. Besides, running AWS reports for such a simple task sounds like overkill.
Oracle database reports each session’s CPU usage in V$SYSSTAT performance view. However, it only indicates a total CPU time used since the session’s log in. And because different sessions may have logged in at different times, you can’t compare the reported figures as they are. After all, it is obvious that a session logged in a few days ago cumulatively may have used more CPU time than a session started just a few minutes ago.
However, there is a workaround.
I wrote a script which accurately measures CPU time consumed by Oracle sessions within the given period (30 seconds by default). It works by taking a snapshot of CPU stats at the beginning of the interval, and then another one at the end. It then calculates the CPU time used during the interval and presents the sorted list.
It prints the result into dbms_output in the following CSV format:
sid, serial#, cpu_seconds
Once you identified the top CPU consuming sessions, you can use a script like this one to find out what they are doing.
You can download cpu_usage.sql script from my GitHub page.