A two-minute guide to deploying your React app to Netlify cloud

Up until a couple of years ago, I hosted this site, all of my React applications, code demos etc on virtual private servers (VPS). I tried AWS, Digital Ocean and others. Some of them were more convenient to deal with. But frankly, all of them were a huge pain in the butt. In the start, I had to spin up my own VPS, configure a web server, security, firewall, user logins, SSH keys, SSL certificates, DNS records. And that took a day if I worked fast. Then I had to figure out a way to deploy my apps.
If that was it I could live with it. But that was just a starting step. Then comes maintenance: security updates, OS upgrades and so on. Over years that added to a massive amount of time. The time that I would rather spend making things. And did I mention that I had to pay for my virtual servers?
Then I discovered Netlify cloud. I switched and never looked back. Today this site ozmoroz.com is hosted on Netlify. As well as my code examples such as this CSS Transitions demo.
Netlify cloud platform makes deploying applications to the cloud extremely easy. Setting up your app on Netlify takes just a couple of minutes. After that, all subsequent deployments are as easy as pushing your code to Git.
It gets better. Netlify is effectively free. You’ll need to pay when you hit certain limits. However, they are very generous. I host multiple sites and apps on Netlify, and I am yet to pay a cent.
Sounds good? I encourage you to check it out yourself. In this step-by-step guide, I’ll show your how to deploy your React app to Netlify.
Setting up your app deployment to Netlify
Here’s how you deploy your React app to Netlify cloud.
- Check
scriptssection inpackage.jsonfile of your app and make sure you havebuildstep. If you used create-react-app to bootstrap your app, you already have it. For example:
"scripts": {
    "start": "react-scripts start",
    "build": "react-scripts build"
}
-
Create a GitHub repository for your app That repo does not need to be public. Commit your code to git and push to GitHub repo you created.
-
Sign in to Netlify with your GitHub account.
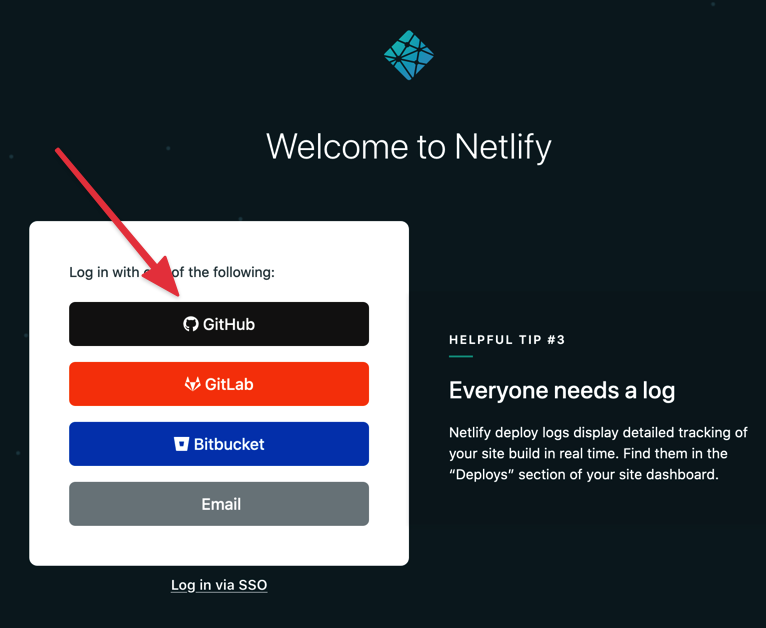
-
Click on “New site from Git” button
-
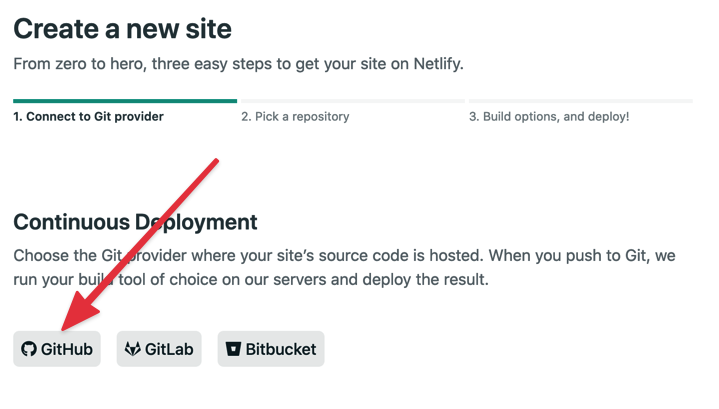
At “Create a new site” screen choose “GitHub” as a provider of source code the Netlify’s continuous integration (CI) system.
-
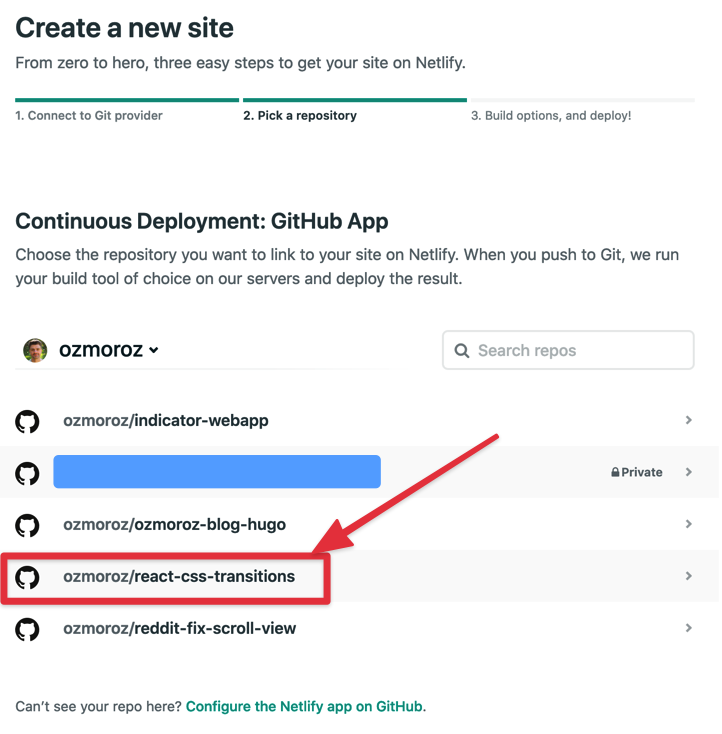
Authorise Netlify to access your GitHub repositories. Although you may choose to grant Netlify access to your entire GitHub, a better option is to select only repositories you want to deploy.
-
Once authorised, you’ll see your repository in a list on “Create new site” page. Click on it.
- Next, you’ll see “Deploy settings” screen.
If you used create-react-app to create your app, you don’t need to change anything here.
The default settings mean that master branch of your repo will be deployed every time you push.
(If you want to deploy any branch other than master you need to change it here).
The deployment script will run yarn build to start build script of your package.json. And then it will deploy the content of build/ directory to Netlify cloud.
If you did not use create-react-app, make sure that your build script puts the result into build/ directory or change the appropriate setting on this screen.

- Click on “Deploy site”. You’ll be redirected to a screen indicating the deployment status:
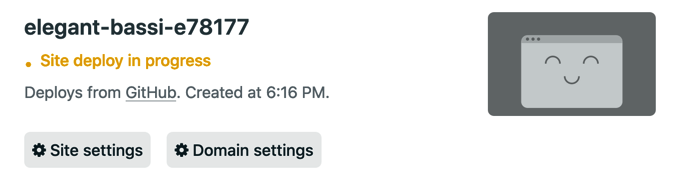
Once the deployment is completed, yellow “Site deploy in progress” sign will be replaced with a clickable URL.
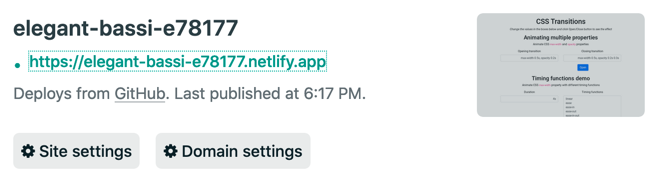
Click on it and enjoy your site on Netlify! 🎉
However, note that Netlify assigned a random URL to your site. Luckily it is easy to fix.
Click on “Site settings” button, then under “Site Information” click on “Change site name”
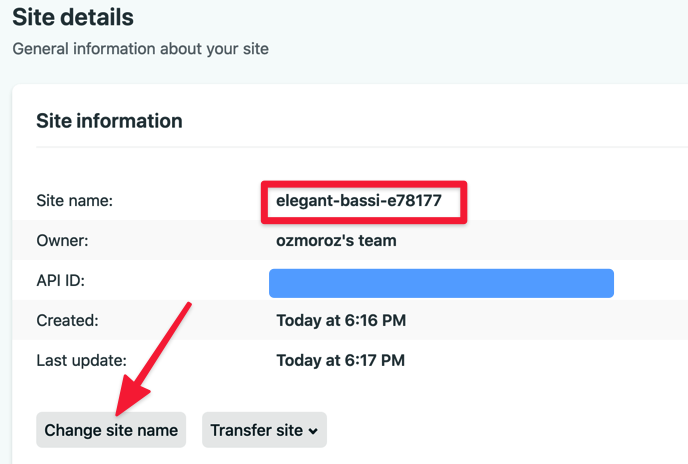
Type in your new site name and click on “Save”. Enjoy your new site!
Deploying after changes
When you update your app and need to re-deploy, all you need to do to commit your changes to master branch of your Git repo and push it to GitHub. The Netlify’s continuous integration system picks up the changes, builds the app and re-deploys it. That’s al
You can check the status of your deployments in Netlify sites panel.
Using your own domain name
By default, Netlify deploys your apps into a subdomain under .netlify.app. However, if you have your own domain you may assign it to your app. Follow the steps outlined in Netlify’s Custom domains guide.